I think I was the most excited about making these cookies for the party. I ran across this video on YouTube and fell in love with the idea. I ordered the molds online and you can see the results are fantastic.
You will want to make the paws first. I did not have the same molds that the person in the video used. I ordered my molds from Amazon. I will leave links below.
This post may contain affiliate links. You can read my disclosure policy here.
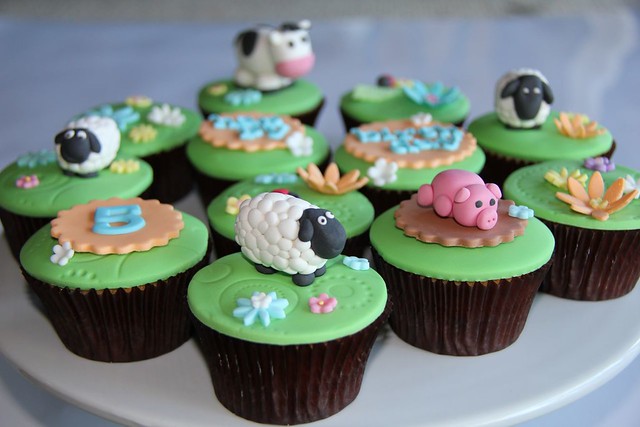
I hope you enjoy these amazing FARM PARTY ideas. I do not claim ownership to photos on this page. You will find image sources below each individual photo.
This post may contain affiliate links. You can read my disclosure policy here.
I hope you enjoy these amazing CAMPING CAKE & COOKIE ideas. I do not claim ownership to photos on this page. You will find image sources below each individual photo.
I think I was the most excited about making these cookies for the party. I ran across this video on YouTube and fell in love with the idea. I ordered the molds online and you can see the results are fantastic.
You will want to make the paws first. I did not have the same molds that the person in the video used. I ordered my molds from Amazon. I will leave links below.
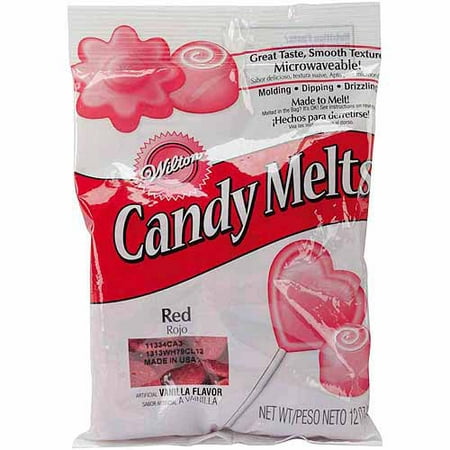
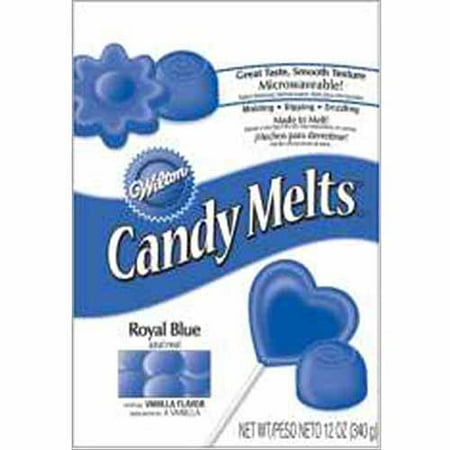
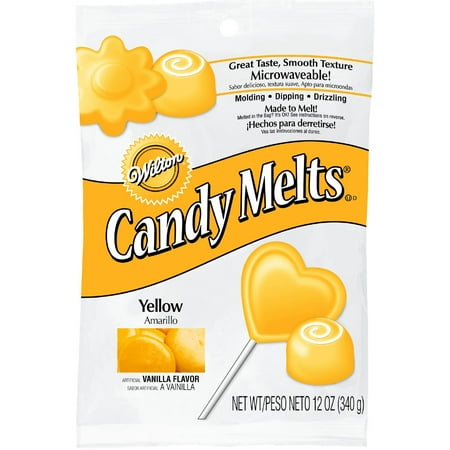
I purchased the candy melts in the colors I wanted to use. I just threw them in bowls and microwaved them as directed on the bag of melts.
I filled the mold about 2/3 of the way with the melted candy. Place the cookies down into the mold. (My daughter wanted to use vanilla cookies)
Spoon more of the melted candy over the cookies.
Once you have covered the top of the cookies, tap the candy mold gently on the counter to level and "settle" the candy melts.
You will probably need to add more melted candy until it covers the cookie and is smooth on top.
You can see that the yellow candy is smooth and blue still needs to be tapped down to smooth it out.
I then popped them in the freezer for about 15 minutes.
Take them out of the mold. Now you are ready to "glue" the paws on top of the candy cookies.
I glued the on with a small amount of white frosting. It only takes a small amount of melted candy. If you use too much, it will seep out around the paws.
Here are links to the products used to make these candy covered cookies. I purchased the molds from Amazon but I purchased the candy from Walmart. Amazon charges twice the price and Walmart will ship just as quickly or run to the store and pick them up yourself.
I can't do any better than this video which will walk you through the process.
It's hard to see in the bottom photo but dinosaur skeletons were used to make these fossil cookies.
Ingredients
3 cups all-purpose flour
3/4 teaspoon baking powder
1/4 teaspoon salt
1 cup unsalted butter, softened
1 cup sugar
1 egg, beaten
1 tablespoon milk
Powdered sugar, for rolling out dough
Directions
Sift together flour, baking powder, and salt. Set aside. Place butter and sugar in large bowl of electric stand mixer and beat until light in color. Add egg and milk and beat to combine. Put mixer on low speed, gradually add flour, and beat until mixture pulls away from the side of the bowl. Divide the dough in half, wrap in waxed paper, and refrigerate for 2 hours.
Preheat oven to 375 degrees F.
Sprinkle surface where you will roll out dough with powdered sugar. Remove 1 wrapped pack of dough from refrigerator at a time, sprinkle rolling pin with powdered sugar, and roll out dough to 1/4-inch thick. Move the dough around and check underneath frequently to make sure it is not sticking. If dough has warmed during rolling, place cold cookie sheet on top for 10 minutes to chill. Cut into desired shape, place at least 1-inch apart on greased baking sheet, parchment, or silicone baking mat, and bake for 7 to 9 minutes or until cookies are just beginning to turn brown around the edges, rotating cookie sheet halfway through baking time. Let sit on baking sheet for 2 minutes after removal from oven and then move to complete cooling on wire rack. Serve as is or ice as desired. Store in airtight container for up to 1 week.